Blockchain Basics P5 - Truffle Pet-Shop Interface
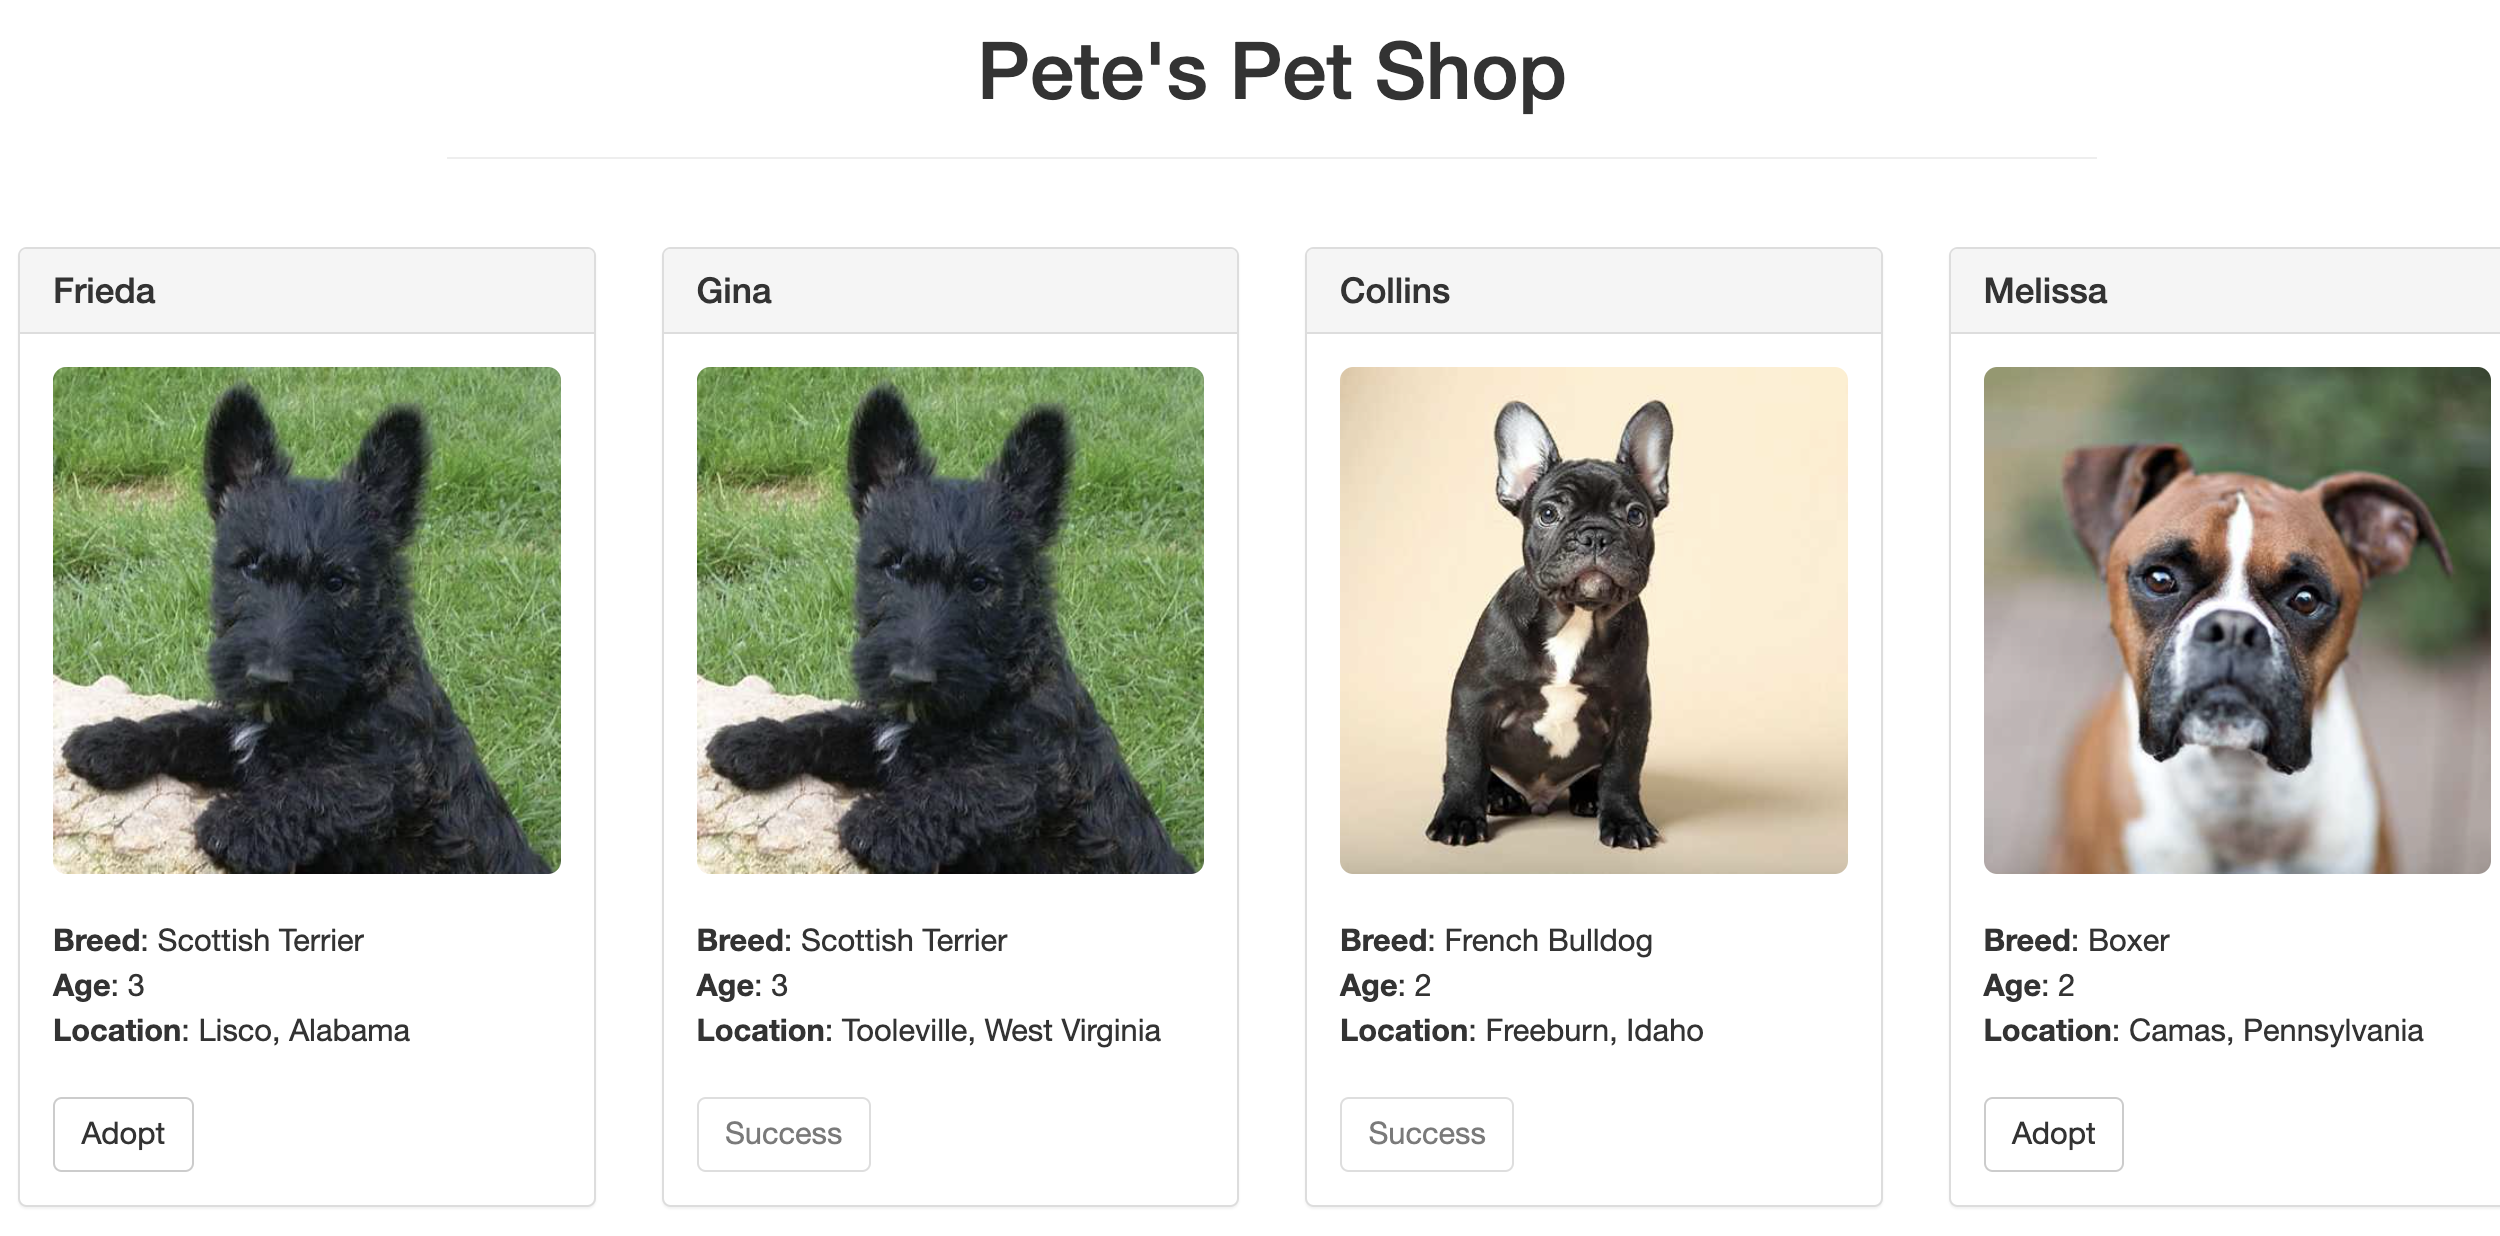
In this post, we will explore the Truffle Pet Shop interface and the underlying code that powers it. The Truffle Pet Shop is a sample decentralized application (DApp) that showcases how to interact with smart contracts on the Ethereum blockchain. We will look at the key components of the interface and the JavaScript code that connects the frontend to the blockchain.
About the Pet Shop Tutorial
The Truffle Pet Shop tutorial is a great place to start learning about Ethereum development. It’s a simple dApp that allows users to adopt pets.
Previously, we covered the smart contract development part of the tutorial. In this post, we will focus on the frontend interface and the JavaScript code that interacts with the smart contract.
window.ethereum object
graph TD

browser["fa:fa-globe Browser"]:::browser --> |"Runs"| jsEnv["fa:fa-robot JavaScript Environment"]:::jsEnv

metaMask["fa:fa-fox MetaMask Extension"]:::metaMask --> |"Injects"| inject["fa:fa-arrow-down Inject window.ethereum"]:::ethereum

jsEnv --> |"Accesses"| ethereum["fa:fa-globe window.ethereum"]:::ethereum
ethereum --> |"Requests Permission"| requestPermission["fa:fa-key window.ethereum.enable()"]:::permission

classDef browser fill:#f9f,stroke:#333,stroke-width:2px;
classDef jsEnv fill:#9f9,stroke:#333,stroke-width:2px;
classDef metaMask fill:#ff9,stroke:#333,stroke-width:2px;
classDef ethereum fill:#9ff,stroke:#333,stroke-width:2px;
classDef permission fill:#f99,stroke:#333,stroke-width:2px;
The window.ethereum object is injected into the browser’s window object by Ethereum-enabled browser extensions or wallets. The most common example is MetaMask. The extension injects the window.ethereum object into the global scope of your browser’s JavaScript environment. This makes the object available for your web applications (like DApps) to use.
window.ethereum.enable() to request permission from the user to connect their Ethereum accounts to the DApp
web3.eth.getAccounts()
graph TD
    subgraph reactApp["fa:fa-desktop React Application"]
        style reactApp fill:#61DAFB,stroke:#00868B,stroke-width:2px
        userInterface["fa:fa-laptop User Interface"]
        style userInterface fill:#E0F7FA,stroke:#00ACC1
        web3Provider["fa:fa-code Web3 Provider (e.g., Web3.js)"]
        style web3Provider fill:#BBDEFB,stroke:#1E88E5

    end

        metamask["fa:fa-mask Metamask Extension"]
        style metamask fill:#FFCA28,stroke:#FF8F00
    subgraph blockchainNetwork["fa:fa-link Blockchain Network"]
        style blockchainNetwork fill:#E1BEE7,stroke:#8E24AA,stroke-width:2px
        smartContract["fa:fa-file-code Smart Contract"]
        style smartContract fill:#D1C4E9,stroke:#7B1FA2
    end

    userInterface --> |"User Action"|web3Provider
    web3Provider --> |"Send Transaction"|metamask
    metamask --> |"Confirm Transaction"|blockchainNetwork
    blockchainNetwork --> |"Execute"|smartContract
    smartContract --> |"Transaction Receipt"|blockchainNetwork
    blockchainNetwork --> |"Receipt"|metamask
    metamask --> |"Update UI"|web3Provider
    web3Provider --> |"Update Data"|userInterface
The web3.eth module provides functions to interact with the Ethereum blockchain, including account management, transaction handling, and smart contract interaction.
graph TB
%% Inline Styling
linkStyle default stroke:#333,stroke-width:2px;
style web3 fill:#f0f0f0,stroke:#666
style ethereumProvider fill:#e0f0e0,stroke:#080
style accountsArray fill:#e0e0ff,stroke:#008

%% Graph Structure
subgraph web3["web3.js Library"]
    web3Eth["web3.eth"]
    web3Eth --> |Requests| ethereumProvider["Ethereum Provider\n(e.g., MetaMask)"]
end

web3Eth --> |Calls| getAccounts["getAccounts()"]
getAccounts --> |Returns Promise| accountsArray
- Purpose: Retrieves Ethereum addresses that the user has authorized your dapp to access.
- Returns: A Promise that resolves to an array of strings (Ethereum addresses).
- Example:
1
2
3
web3.eth.getAccounts().then(accounts => {
  // Use accounts[0] as the user's address
});
TruffleContract() Function
graph

subgraph TruffleTools["Truffle Tools"]
  TruffleContract["fa:fa-cogs TruffleContract"]:::truffle
end

subgraph ContractData["Contract Data"]
  AdoptionArtifact["fa:fa-file-code Adoption.json\n(Contract Artifact)"]:::contractData
end

subgraph SolidityContract["Solidity Contract"]
  AdoptionContract["fa:fa-file-code Adoption"]:::solidity

  AdoptionContract -- "fa:fa-code Functions" --> adopt["fa:fa-hand-point-right adopt(uint petId)"]:::solidity
  AdoptionContract -- "fa:fa-code Functions" --> getAdopters["fa:fa-hand-point-right getAdopters()"]:::solidity
end

subgraph RuntimeObjects["Runtime Objects"]
  AdoptionJSInstance["fa:fa-box App.contracts.Adoption\n(JavaScript Object)"]:::runtime
end

AdoptionArtifact --> |"fa:fa-arrow-right Uses"| TruffleContract
TruffleContract --> |"fa:fa-arrow-right Creates"| AdoptionJSInstance
AdoptionContract -.-> |"fa:fa-link Linked"| AdoptionJSInstance

AdoptionJSInstance -- "fa:fa-play Methods" --> adoptJS["fa:fa-hand-point-right adopt(petId)"]:::runtime
AdoptionJSInstance -- "fa:fa-play Methods" --> getAdoptersJS["fa:fa-hand-point-right getAdopters()"]:::runtime

classDef truffle fill:#f9f,stroke:#333,stroke-width:2px;
classDef contractData fill:#9f9,stroke:#333,stroke-width:2px;
classDef solidity fill:#ff9,stroke:#333,stroke-width:2px;
classDef runtime fill:#9ff,stroke:#333,stroke-width:2px;
Purpose: The
TruffleContract()function is a utility provided by the Truffle framework. It takes a contract artifact as input and creates a JavaScript object that represents your smart contract.- What It Does:
- Loads ABI: It parses the ABI from the artifact, allowing your DApp to understand how to interact with the contract’s functions.
- Connects to Provider: You set a Web3 provider to connect this contract object to an Ethereum node or wallet, enabling communication with the blockchain.
- Provides Methods: It dynamically creates JavaScript methods based on the ABI. These methods match the names of the functions defined in your Solidity contract.
- Example:
1
2
3
  // 'adoptionInstance' now lets you call contract functions
  const adoptionInstance = await App.contracts.Adoption.deployed();
  const adopters = await adoptionInstance.getAdopters.call();
You don’t have to manually construct complex data structures for function calls or event subscriptions. Truffle handles the low-level details for you. It hides the complexities of the ABI and bytecode, allowing you to focus on the business logic of your DApp.
Calling Contract Functions
graph TD

subgraph DApp["fa:fa-dharmachakra Your DApp"]
  truffleContract["App.contracts.Adoption = TruffleContract(AdoptionArtifact)"]:::truffle
  deployedPromise["fa:fa-spinner deployed() Promise"]:::promise
  adoptionInstance["fa:fa-cube Contract Instance"]:::instance
  adoptFunction["fa:fa-hand-point-right adopt(petId, {from: account})"]:::adopt
  getAdoptersFunction["fa:fa-database getAdopters.call()"]:::read
end

subgraph Blockchain["fa:fa-cube Ethereum Blockchain"]
  deployedContract["fa:fa-cloud-upload Deployed Adoption Contract"]:::contract
end

truffleContract --> |"fa:fa-arrow-right Resolves to"| deployedPromise
deployedPromise --> |"fa:fa-arrow-right Provides"| adoptionInstance
adoptionInstance --> |"fa:fa-arrow-right Calls"| adoptFunction
adoptionInstance --> |"fa:fa-arrow-right Calls"| getAdoptersFunction
adoptFunction --> |"fa:fa-arrow-right Modifies State"| deployedContract
getAdoptersFunction --> |"fa:fa-arrow-right Reads State"| deployedContract

classDef dapp fill:#ffe0e0,stroke:#800,stroke-width:2px;
classDef promise fill:#e0e0ff,stroke:#0000ff,stroke-width:2px;
classDef instance fill:#ffebcc,stroke:#cc6600,stroke-width:2px;
classDef adopt fill:#e0ffff,stroke:#008080,stroke-width:2px;
classDef read fill:#f0e68c,stroke:#b8860b,stroke-width:2px;
classDef contract fill:#e0f0e0,stroke:#008000,stroke-width:2px;
classDef truffle fill:#ffd700,stroke:#DAA520,stroke-width:2px;
To get the instance of the contract, you can use the deployed() function, which returns a promise that resolves to the contract instance. You can then call the contract functions using the instance.
1
2
3
App.contracts.Adoption.deployed().then(function (instance) {
            // Use the contract instance to call functions
        }
To adopt a pet, you can call the adopt() function on the contract instance by passing the pet ID and the account address.
1
adoptionInstance.adopt(petId, {from: account})
To read data from the blockchain, you can call the call() function on the contract instance. This function is used for reading data from the blockchain and does not require a transaction.
1
adoptionInstance.getAdopters.call();
Click Adopt Button
graph TD

subgraph DApp["fa:fa-dharmachakra Your DApp"]
  truffleContract["App.contracts.Adoption = TruffleContract(AdoptionArtifact)"]:::truffle
  deployedPromise["fa:fa-spinner deployed() Promise"]:::promise
  adoptionInstance["fa:fa-cube Contract Instance"]:::instance
  adoptFunction["fa:fa-hand-point-right adopt(petId, {from: account})"]:::adopt
end

subgraph Blockchain["fa:fa-cube Ethereum Blockchain"]
  deployedContract["fa:fa-cloud-upload Deployed Adoption Contract"]:::contract
end

truffleContract --> |"fa:fa-arrow-right Resolves to"| deployedPromise
deployedPromise --> |"fa:fa-arrow-right Provides"| adoptionInstance
adoptionInstance --> |"fa:fa-arrow-right Calls"| adoptFunction
adoptFunction --> |"fa:fa-arrow-right Modifies State"| deployedContract

classDef dapp fill:#ffe0e0,stroke:#800,stroke-width:2px;
classDef promise fill:#e0e0ff,stroke:#0000ff,stroke-width:2px;
classDef instance fill:#ffebcc,stroke:#cc6600,stroke-width:2px;
classDef adopt fill:#e0ffff,stroke:#008080,stroke-width:2px;
classDef read fill:#f0e68c,stroke:#b8860b,stroke-width:2px;
classDef contract fill:#e0f0e0,stroke:#008000,stroke-width:2px;
classDef truffle fill:#ffd700,stroke:#DAA520,stroke-width:2px;
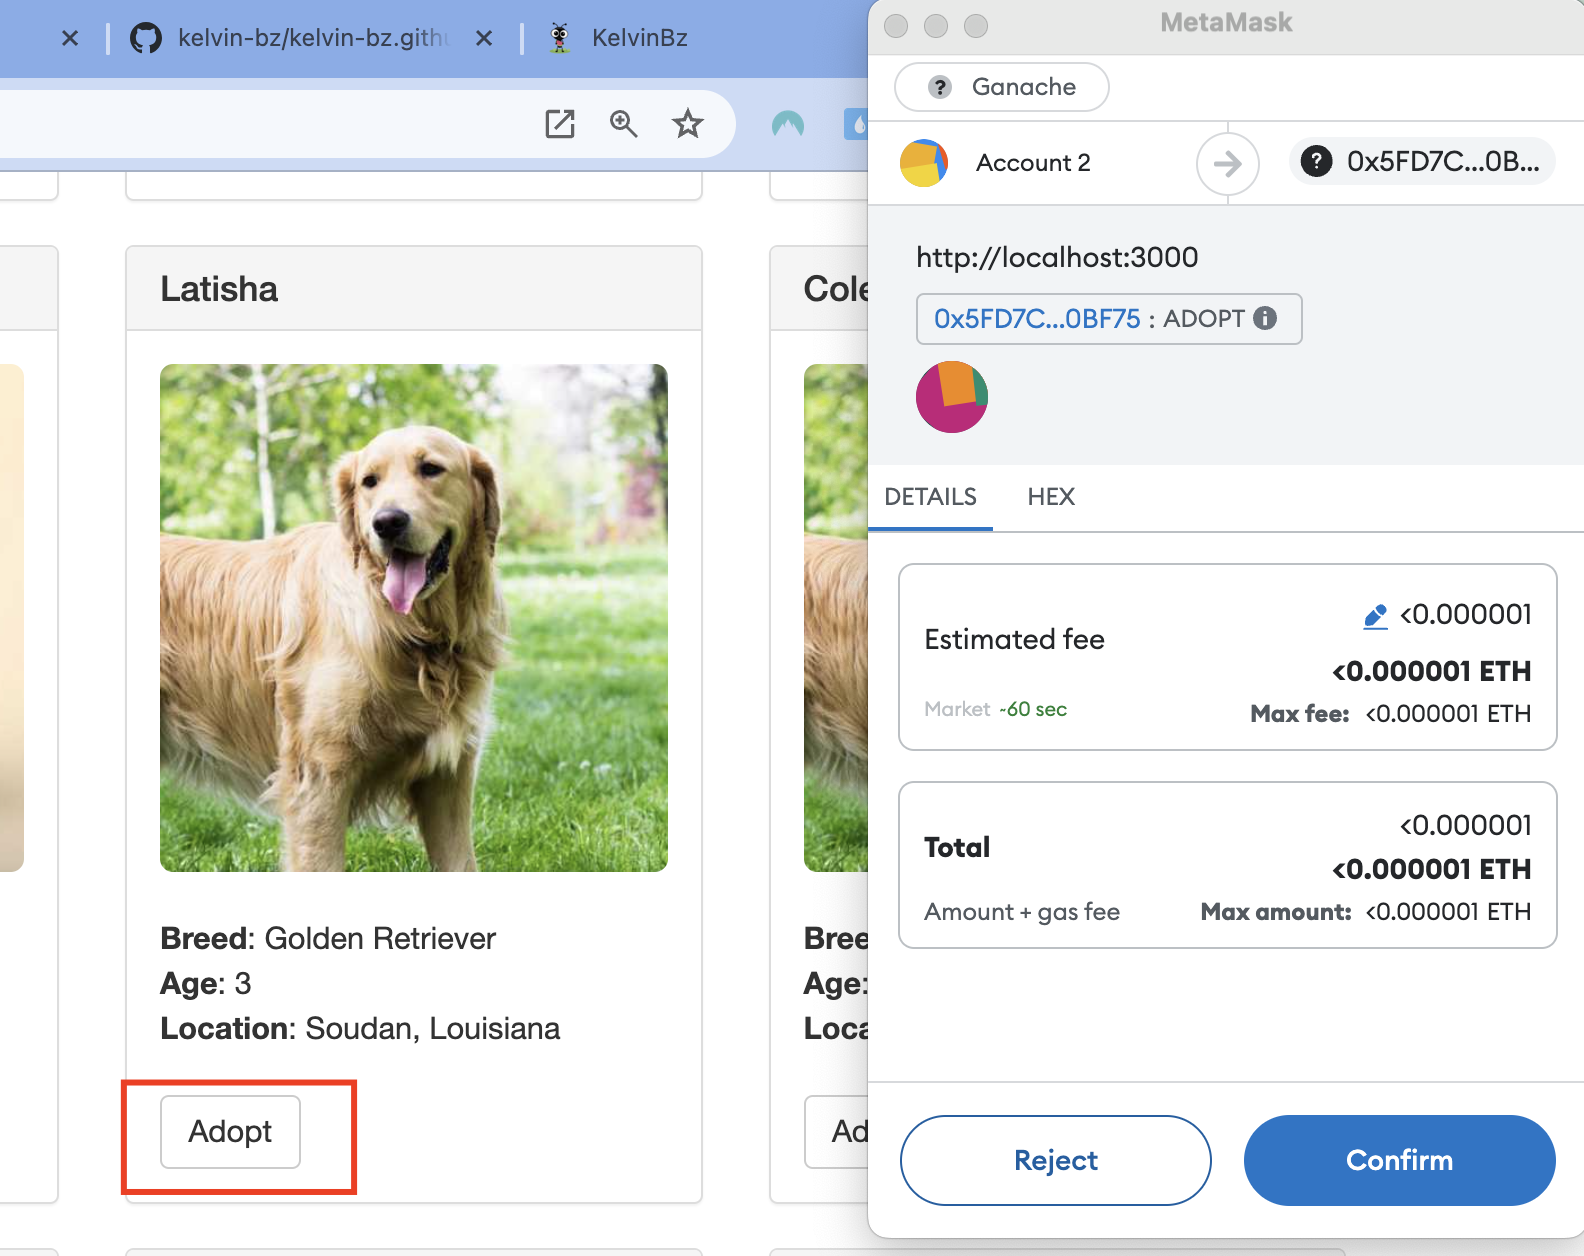
When a user clicks the “Adopt” button, the handleAdopt function is called. This function retrieves the pet ID from the button’s data attribute and calls the adopt() function on the contract instance.
1
2
3
4
5
6
7
8
9
10
11
12
13
14
15
16
17
18
19
20
21
22
23
24
25
26
27
28
29
30
31
32
App = {
    web3Provider: null,
    contracts: {},
    // ...
    bindEvents: function () {
        $(document).on('click', '.btn-adopt', App.handleAdopt);
    },
    ///..
    handleAdopt: function (event) {
        event.preventDefault();
        var petId = parseInt($(event.target).data('id'));
        var adoptionInstance;
        web3.eth.getAccounts(function (error, accounts) {
            if (error) {
                console.log(error);
            }
            var account = accounts[0];
            App.contracts.Adoption.deployed().then(function (instance) {
                adoptionInstance = instance;

                // Execute adopt as a transaction by sending account
                return adoptionInstance.adopt(petId, {from: account});
            }).then(function (result) {
                return App.markAdopted();
            }).catch(function (err) {
                console.log(err.message);
            });
        });

    }
    ///.
}
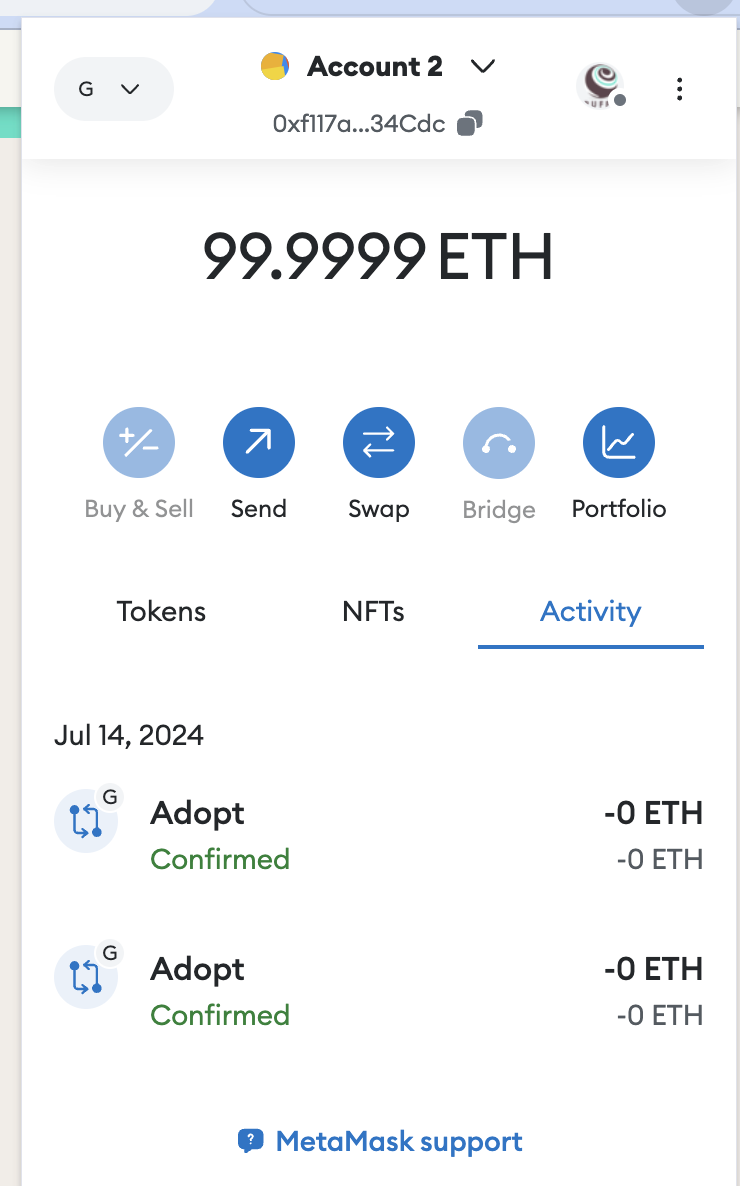
This will cost gas, and the user will need to confirm the transaction in MetaMask. Once the transaction is confirmed, the pet will be marked as adopted in the DApp interface.
Display Adopted Pets
graph TD

subgraph DApp["fa:fa-dharmachakra DApp"]
  appContractsAdoption["fa:fa-code App.contracts.Adoption"]:::dapp
  deployedPromise["fa:fa-spinner deployed() Promise"]:::promise
  adoptionInstance["fa:fa-cube Contract Instance"]:::instance
  callGetAdoptersFunction["fa:fa-database adoptionInstance.getAdopters.call()"]:::read
end

subgraph Blockchain["fa:fa-cube Ethereum Blockchain"]
  deployedAdoptionContract["fa:fa-cloud-upload Deployed Adoption Contract"]:::contract
end

appContractsAdoption --> |"fa:fa-arrow-right Resolves to"| deployedPromise
deployedPromise --> |"fa:fa-arrow-right Provides"| adoptionInstance
adoptionInstance --> |"fa:fa-arrow-right Calls"| callGetAdoptersFunction
callGetAdoptersFunction --> |"fa:fa-arrow-right Reads Data From"| deployedAdoptionContract

classDef dapp fill:#ffe0e0,stroke:#800,stroke-width:2px;
classDef promise fill:#e0e0ff,stroke:#0000ff,stroke-width:2px;
classDef instance fill:#ffebcc,stroke:#cc6600,stroke-width:2px;
classDef read fill:#f0e68c,stroke:#b8860b,stroke-width:2px;
classDef contract fill:#e0f0e0,stroke:#008000,stroke-width:2px;
1
2
3
4
5
6
7
8
9
10
11
12
13
14
15
16
17
18
19
20
21
22
23
24
25
26
27
28
29
// src/js/app.js
App = {
    web3Provider: null,
    contracts: {},

    // ...

    markAdopted: function () {
        var adoptionInstance;

        App.contracts.Adoption.deployed().then(function (instance) {
            adoptionInstance = instance;

            return adoptionInstance.getAdopters.call();
        }).then(function (adopters) {
            for (i = 0; i < adopters.length; i++) {
                if (adopters[i] !== '0x0000000000000000000000000000000000000000') {
                    $('.panel-pet').eq(i).find('button').text('Success').attr('disabled', true);
                }
            }
        }).catch(function (err) {
            console.log(err.message);
        });

    },

    //...

};
The main goal of the markAdopted function is to visually update your DApp’s interface to indicate which pets have already been adopted. It does this by:
- Retrieving the list of adopters from the smart contract.
- Checking each entry in the list to see if it’s a valid Ethereum address (not all zeros).
- Disabling and marking the “Adopt” button for pets that have already been adopted.
Prepare MetaMask Wallet
To interact with the DApp in your browser, follow these steps:
- Install and Configure MetaMask:
- Install the MetaMask browser extension.
- Import your wallet using the mnemonic from Ganache.
- Connect MetaMask to the local blockchain at
http://127.0.0.1:7545.
- Install and Configure lite-server:
- Ensure
bs-config.jsonincludes the./srcand./build/contractsdirectories. - Verify that the
package.jsonfile has adevscript that runslite-server.
- Ensure
- Start the DApp:
- Run
npm run devin your terminal to start the local web server and launch the DApp in your browser. - You can now interact with the DApp using MetaMask and your local blockchain.
- Run
Confirm Adoption Transaction
Source Code
Full source code for the Truffle Pet Shop tutorial can be found on GitHub here: Truffle Pet Shop


